Showing posts with label 2014 Blogger Challenge. Show all posts

Sunday, October 5, 2014

Pacifica 7 Free Nail Polish Review | 2014 Blogger Challenge

Hello gorgeous readers! The topic for the 2014 Blogger Challenge this time around was to review something so I decided to review something I received in my September Ipsy Glam Bag! This is the Pacifica 7 Free Nail Polish in Red Red Wine and I've been absolutely loving it!


Left: One Coat
Right: Two Coats
I did not expect to love this nail polish as much as I did. I absolutely loved the color because I surprisingly don't have anything like it and it's perfect for the Fall season, but I assumed it would just be your standard nail polish. I was wrong! Now I'm not too sure if it's all of the colors in the range or just this one, but this nail polish lasts on the nails without chipping for ages! It lasted on my nails with a base and top coat for about 5 - 6 days which is amazing for me! Most nail polishes only last about 3 - 4 days before majorly chipping on me, including Essie polishes.

The color is a gorgeous wine-y red (as the name would suggest) and I'd go so far as to say that it leans towards that "ox blood" color that is ever so popular around the holiday seasons. It goes on quite smooth, there isn't much of a fuss about it, so this gets a big thumbs up from me! The range is $9.00 a pop and I'll definitely be purchasing more to test them out. :) If you'd like to take a look at the range or purchase any of the nail polishes, you can pop into your local Target or go to their website! Xx

Sunday, September 21, 2014

Every Day Makeup Tutorial | 2014 Blogger Challenge

Hello everyone! So for Topic 17 of the 2014 Blogger Challenge, we were assigned to do a tutorial post. The reason this is a bit late is because I've never done a tutorial in video form or written form, so I had a hard time deciding what I'd do a tutorial on. Finally, I decided I would do a tutorial on what was considered my signature look back in the day that I've brought back in recent weeks: my bat wings! Or in other words, a very dramatic cat eye. I also did my usual every day makeup so I hope you enjoy! I know this isn't the best tutorial, but I quite liked doing it so hopefully as I continue with tutorials, I'll get better. :P


1. First thing I do after cleansing and moisturizing my face is prime it. I take a bit of this Rimmel Fix & Perfect Pro Primer and gently massage it onto my entire face. I'm not a huge fan of this primer, as I've found it makes me a quite oily after a few hours, but at the moment, it's all I've got. Lol I do, however, love the regular non-pro version of this.


2. I then use my MAC Face and Body foundation in C4 which gives quite a light coverage. I've found using my fingers to apply it works better than a brush because as I work the foundation into my skin, it gets a bit thicker, creating a better coverage than the initial watery application of it.


3. Next, using the Real Techniques Expert Face Brush, I apply my NYX Full Coverage concealer in Medium to cover my acne scars and any blemishes I might have at the moment. I love this concealer! It's very high coverage, as the name would suggest and it's quite long lasting as well!


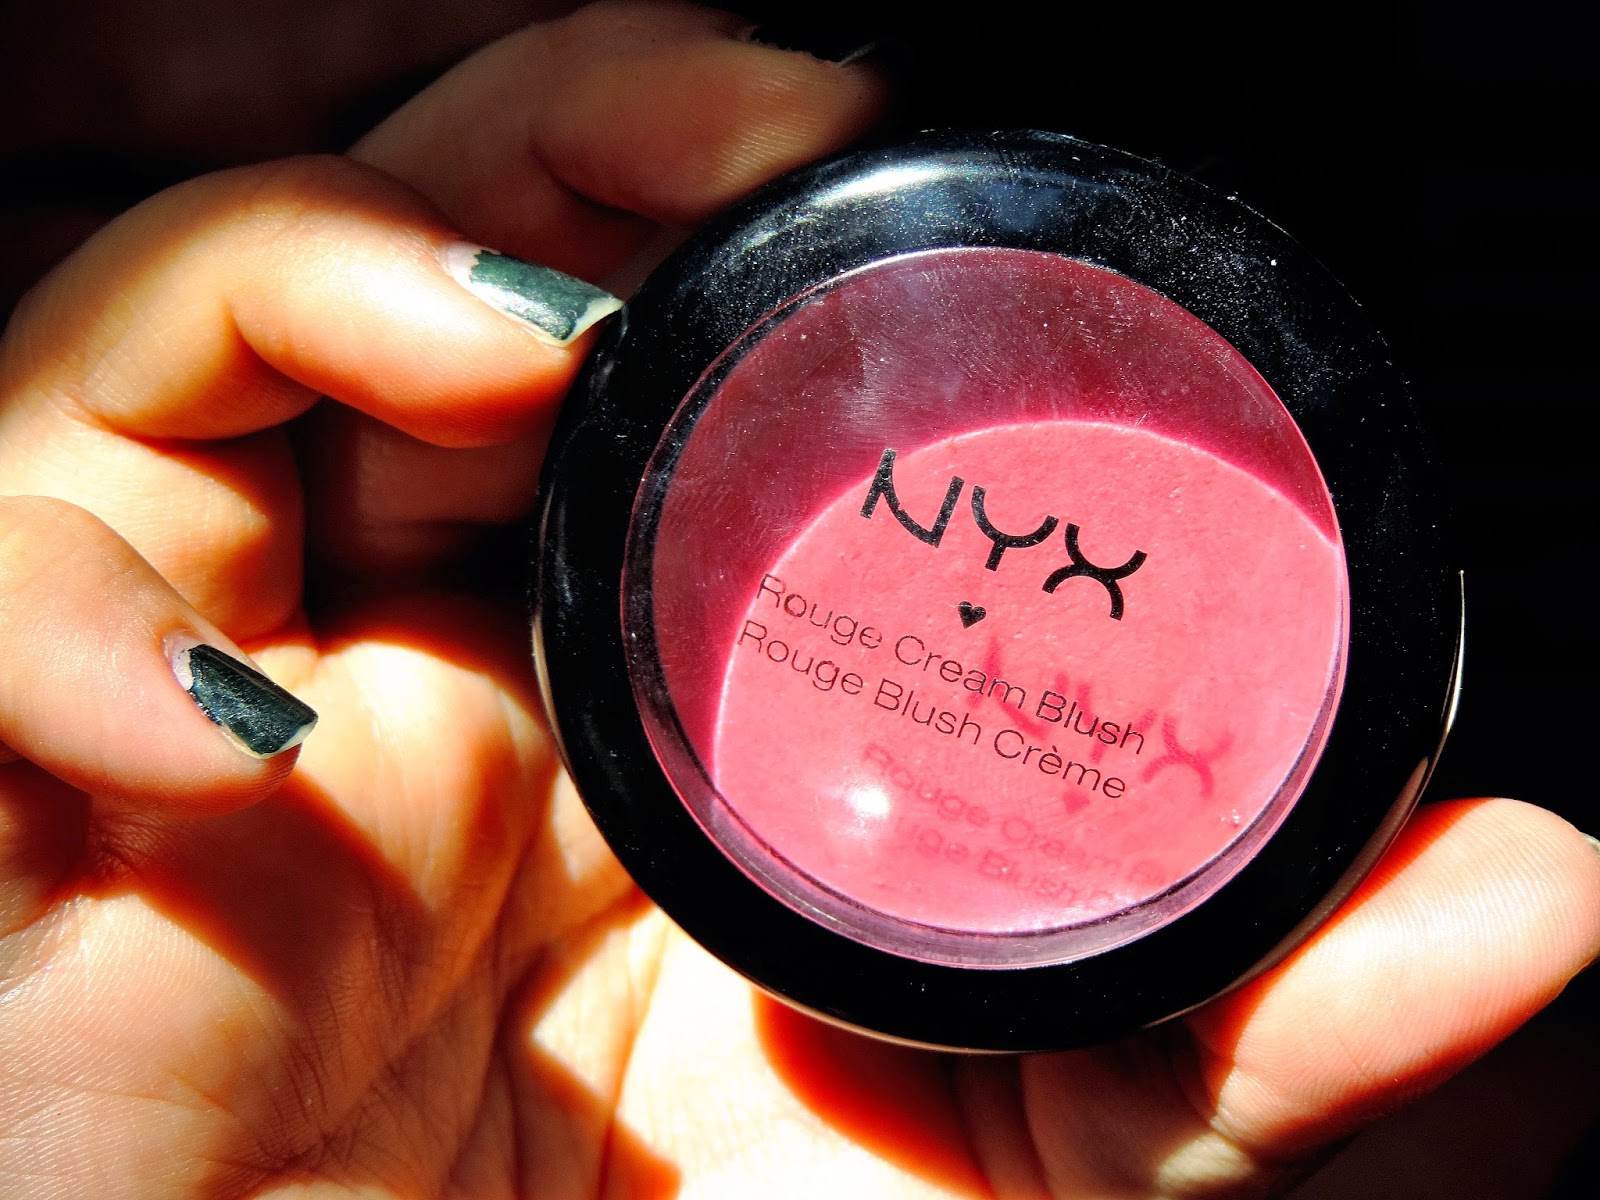
4. I then use the Real Techniques Buffing Brush to dab this gorgeous NYX Cream Blush in Hot Pink onto my cheeks. This blush is very pigmented and looks a bit scary at first, but with a bit of blending, it gives a very pretty natural flush.


5. Using an eco tools powder brush, which is so incredibly soft, I powder my t-zone (and occasionally under my eyes on the days I put a highlighting concealer there) with my favorite setting powder, L'Oreal Hydra Perfect Translucent Loose Powder.


6. Next thing I'll do is bronze up my face with this Maybelline bronzing powder in Weekend Bronze. I do more of an all over bronze with a slight contour, rather than a stark, dramatic contour because I find this looks best on my face shape. For bronzing, I just use a fluffy brush that my mom got in a set from TJ Maxx.


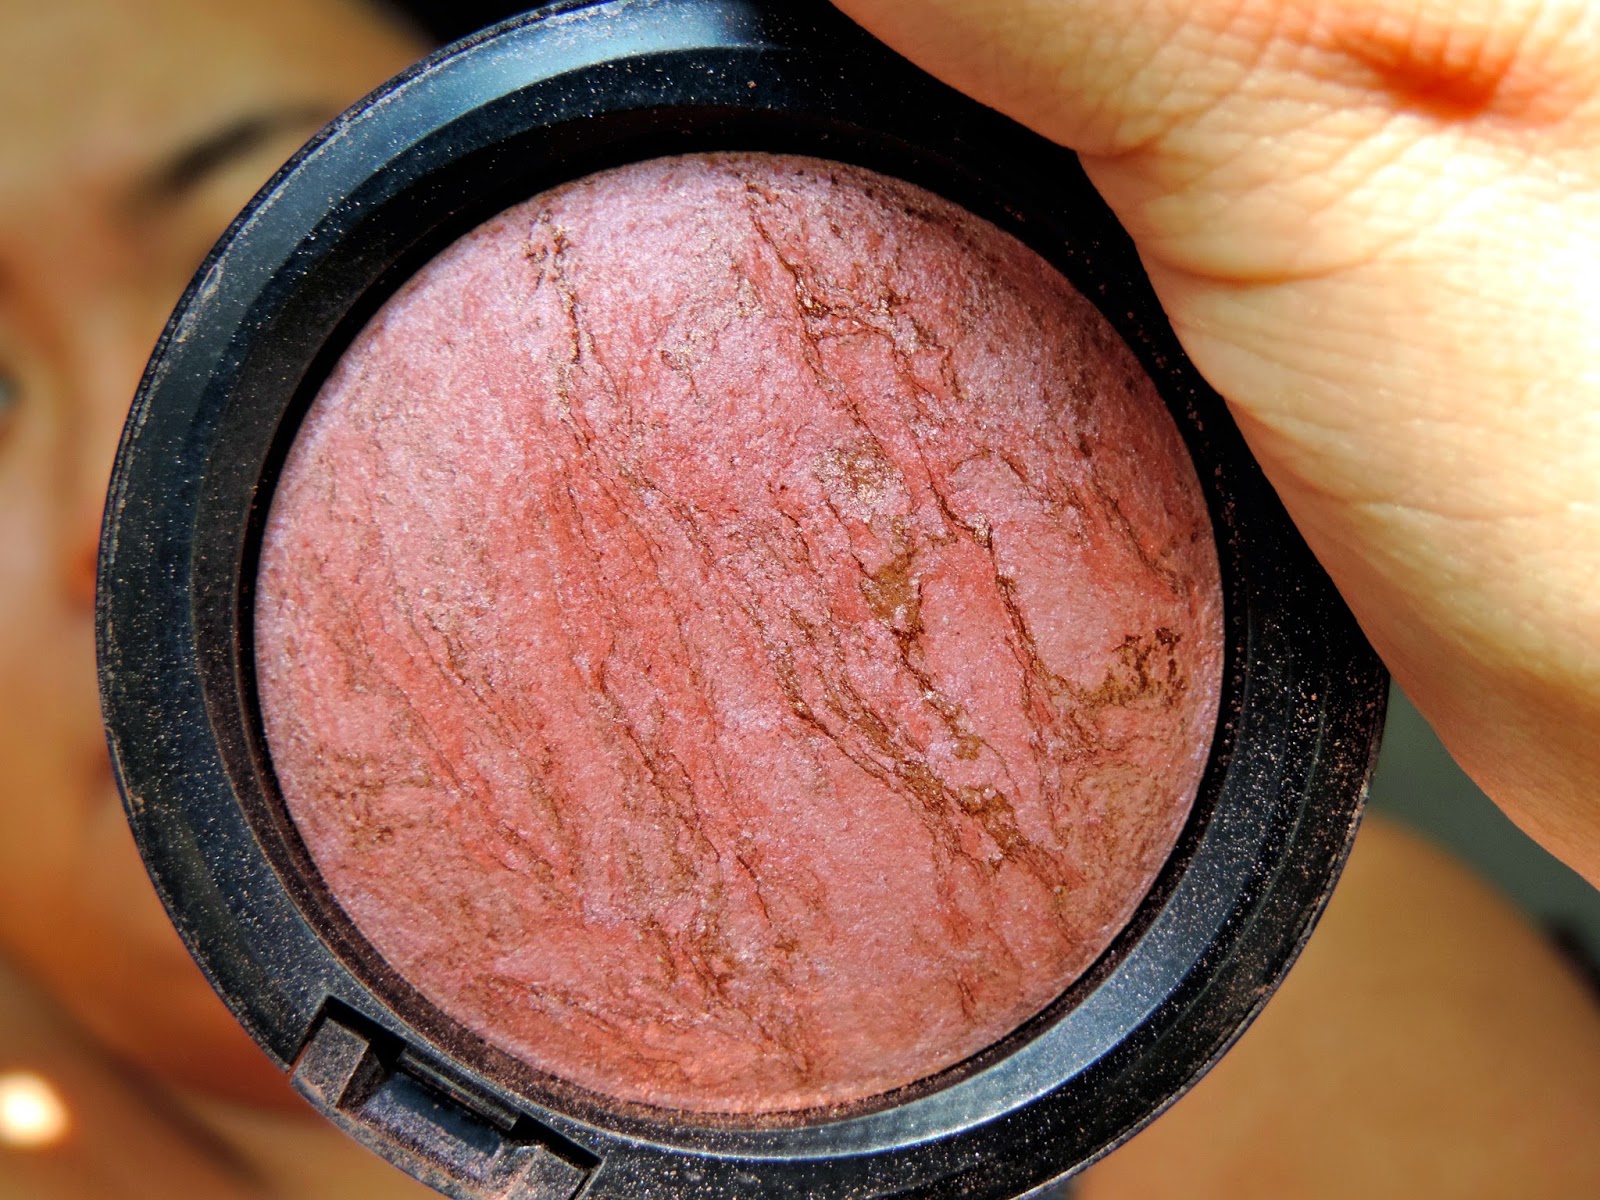
7. This next step is one of my all time favorite products and it is my MAC Mineralize Skin Finish in Stereo Rose which is just amazing! It doubles as a highlighter and a blush so on "no makeup" days, I'll just apply a bit of this and it gives me a bit more life. :) I've been applying this lately with a Sonia Kashuk Angled Contour brush.


8. Please excuse my scruffy eyebrows, I'm in serious need of a good threading! All I use for eyebrows is this NYX Eyebrow Cake Powder kit in Dark Brown/Brown; I use the wax, dark brown powder, and both the tiny angled brush and spooly. I just fill them in willy nilly for the time being, but I'm hoping when I get a gel type product to do my eyebrows, I'll be able to give them a better shape and make them a bit longer, as they are naturally SO short.


My eye looks so wonky here! Lol

9. Now onto the star of the show: the bat wings! I've worn winged eyeliner since I was about 15, but around 17 is when I started wearing my bat wings (the name given to the look by my friends who deemed it my signature :)). They would vary day to day between this size and being even bigger! The singer, Dev, was my inspiration for everything at that age including my makeup, so thank you Dev! 

I will first use the brush that came with the eyeliner to line my lash line, not too thin, but not too thick and then I move onto the wing. I'll start with the base of the wing by drawing a line angled upwards from the end of my lashes. From there, I'll make a sort of triangle shape by drawing a line from the tip of the angled line to the middle of the lash line. Once the lines are as perfect as they're going to get, I fill in the triangle. As I said, the size of my bat wings vary all the time, so feel free to make them smaller or bigger as you desire. :)


10. This is the step that I feel ties it up nicely. You can use whatever waterproof kohl eyeliner you like for this step, but I use the Rimmel Scandaleyes Waterproof eyeliner to tightline, which I think just makes the look so much cleaner and more done, if you know what I mean.


11. Mascara! These past few months, I've finally actually been sort of content with my lashes! For the longest time, I hated my lashes because they're so short, but I've found the combination of these two mascaras makes them look quite nice! :) First, I apply the L'Oreal Miss Manga mascara and then I'll go in with the Hard Candy Ginormous Lash Mascara (which also says it contains lash growth serum and I think it might actually work!) for the second coat. Depending on how it looks after the second coat, sometimes I'll go in again with the Miss Manga mascara. Love both of these so much!


12. I change up my lip products quite often and now that it's Fall time, I'll probably be wearing my dark lipsticks again (YAY!!!), but lately, I've found myself reaching for this Revlon Colorburst Matte Balm in Sultry. I absolutely love this stuff because it so long lasting and the color is so pretty! Dare I say it, it's even a bit on trend with the Kylie Jenner lip look, especially when I wear MAC lip pencil in Spice underneath. :)


And here is the finished look! I hope you like it and feel free to let me know what you think of my tutorial skills! Please be polite though! :P

Also, below are two make up looks that I quite liked but had nowhere to post them! Lol

  
This was my "Kylie Jenner" look. :P


Here is a look that Heather and I did today and we each used our own separate products to create our versions of the beautiful Zoe Sugg's tutorial that she uploaded earlier which you can (and should) watch here. :)

I hope you've enjoyed this post and have a lovely week! Xx

Sunday, September 7, 2014

New Bedroom Beginnings | 2014 Blogger Challenge

Hello lovelies! Sorry this post is a bit late, but here it is! I decided to do my "new beginnings" post on the make-over of my room. Now, you'll see in the before and after pictures that my room isn't entirely new or decorative, it's just slightly more organized and I've got a few new little items from my sister (I got a ton of gorgeous hand-me-downs, which I will be showing in this week's YT video!). I'm the type of person who, if my environment is chaotic, the rest of my life is; I cannot get any actual work done in my room if it's dirty and also, I just wanted to organize my shelves and what not a bit more. I hope you enjoy this post! :)

Before
After
Here's the overview of the room, as you can tell, it's basically the same, but I  really like the way it looks now!

Before
Yes, that is Marcus Butler on my TV connected from my laptop. :P
After
And then, Zoe Sugg, this time around.
So here is my dresser that sits at the front of my room. One of the new things my sister gave me is her old TV which we just plopped down onto the dresser and I wanted it to look a little less messy. I decided to clear off my dresser and move the TV over and put the DVD play (where as you can see, I've also placed my laptop on top of) and used a very large silver tray type thing which was also hers to put all my little bits and bobs on.

Before
Before
Before
After


This isn't the final of what the tray will look like because I plan on doing something a little later with these jars, but for now I've just put them with the rest of my candles.


The top jewelry box is from my sister and basically all of the jewelry in there is from her as well! :) The bottom box is mine and I just keep my sentimental pieces in there.

Before


After

My bedside table looked like a tornado hit it, so I sorted that out.

Before
After
This is the top of my bookshelf, which again at first just had stuff thrown onto it because of getting the new stuff from my sister, so I re-organized and got rid of the clutter.

Before
After
I think I'm most excited about my bookshelf because it's just sooo much more organized now and I can look at it and it actually looks like a bookshelf, instead of a junk shelf. :)

After
I have the same bed frame and bed sheets I've had before, but the two large pillows against the headboard, the two fuzzy pillows, and the body pillow are from my sister, as is the mattress and I'm loving this new set up! (Also, that purse is from her as well :))

So that is my little room makeover! I actually still want to do a lot more to my room, but for now, I'm content with the feng shui and my aura is happy. :P I hope you're all well and enjoying school, if you're in it! Xx

Saturday, August 16, 2014

The Perfect Pair | 2014 Blogger Challenge

Hello lovelies! I do apologize for this past Sunday's post or lack there of, I should say. Things have calmed down a bit since then and I'm on the straight and narrow again...trying to be anyway, trying very hard. Enough rambling, for Topic 15, we were to come up with the perfect pair which could be anything. I found it quite difficult until it hit me! My MAC Mineral Moisture SPF 15 Foundation and my Rimmel Fix & Perfect Primer are a match made in heaven!


If any of you have seen my May monthly favorites on my YouTube channel, then you'll already know a bit about these products. When I first used this MAC foundation, I found it to be far too dewy (nearing sweaty territory) for my liking, however I carried on because I was not going to let this be a waste. Seeing as I love Rimmel's foundations, I thought I'd give their primer ago and it seriously made the biggest difference my  foundation finish and lasting power! The foundation paired with the primer creates a perfectly natural and slightly dewy finish and lasts relatively well throughout the whole day!

The foundation is a slightly runny consistency and is light to medium coverage. I use the shade NC35. I've almost used up all of this foundation and I'll admit, though I'm sad to see it go, I'm quite excited to try something new. This was a good foundation, but I wasn't in love with it, especially on it's own. 

The primer is perfection! No pun intended. It's a creamy consistency colored a light orange but blends out colorless. It makes my makeup last longer, it feels nice and smooth on the skin, it doesn't break me out or make me overly dry or greasy, it's just absolutely amazing. I have nothing bad to say about this product and I'd quite like to try the "Pro" version that Rimmel also offers. :)

That's all for now! Be mindful and happy, my lovelies! Xx